In the following we'll describe how you can create your own minimap for your maps.
Grab an overhead screenshot[ | ]
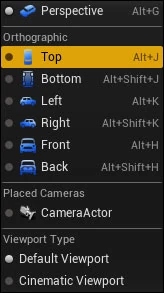
To create a minimap for your level, first hit G to turn on game view (so you don't see any volumes or non game visible actors), then change your view from Perspective to Top (Alt+J).

|
Note!
Make sure your view mode is Lit or Unlit (whichever you prefer). |
Whichever way your level is laid out in TOP view, this is how your minimap will be oriented. If you would like to flip it, select all actors and rotate them accordingly (setting rotation grid snap to 90 degrees is your friend here!).
Use the mouse wheel to get the proper level of zoom, then open the developer console (Window -> Developer Tools -> Output Log) and use the command HighResShot 1920x1152 in the console. A link will appear in the bottom right to take you to your screenshots folder (../Saved/Screenshots). Check your screenshot to make sure the map is zoomed to your liking.
Name your screenshot dow_[mapname]_overview.png and put it in the main folder of your mod.
Styling (Optional)[ | ]
To style your minimap, you can draw over the screenshot or use our Photoshop template, included in the root folder of the DoW Editor (Right click the DoW Editor -> Properties -> Local Files -> Browse Local Files).
To make the map scale consistent with official maps, find or drop an ML3000 truck in your map somewhere and use the layer in the Photoshop template to scale your screenshot so they are the same size.
Scaling and Orienting[ | ]
Create a text file called dow_[mapname].txt in the main folder of your mod. Paste the following template inside:
{
	"TimeOfDay": "Day",
	"GameMode": "Domination",
	"Description": "[MAPNAME]",
	"PixelLocation1": {
		"X": "#",
		"Y": "#"
	},
	"WorldLocation1": {
		"X": "#",
		"Y": "#"
	},
	"PixelLocation2": {
		"X": "#",
		"Y": "#"
	},
	"WorldLocation2": {
		"X": "#",
		"Y": "#"
	}
}
Now, pick two spots on your map, ideally in opposite corners from each other on the minimap. To get the Pixel Location of each point measure how many pixels from the top left corner. X is the number of pixels right and Y is the number of pixels down from the top left corner of the image. Here's an example of the picked spots (red dots):
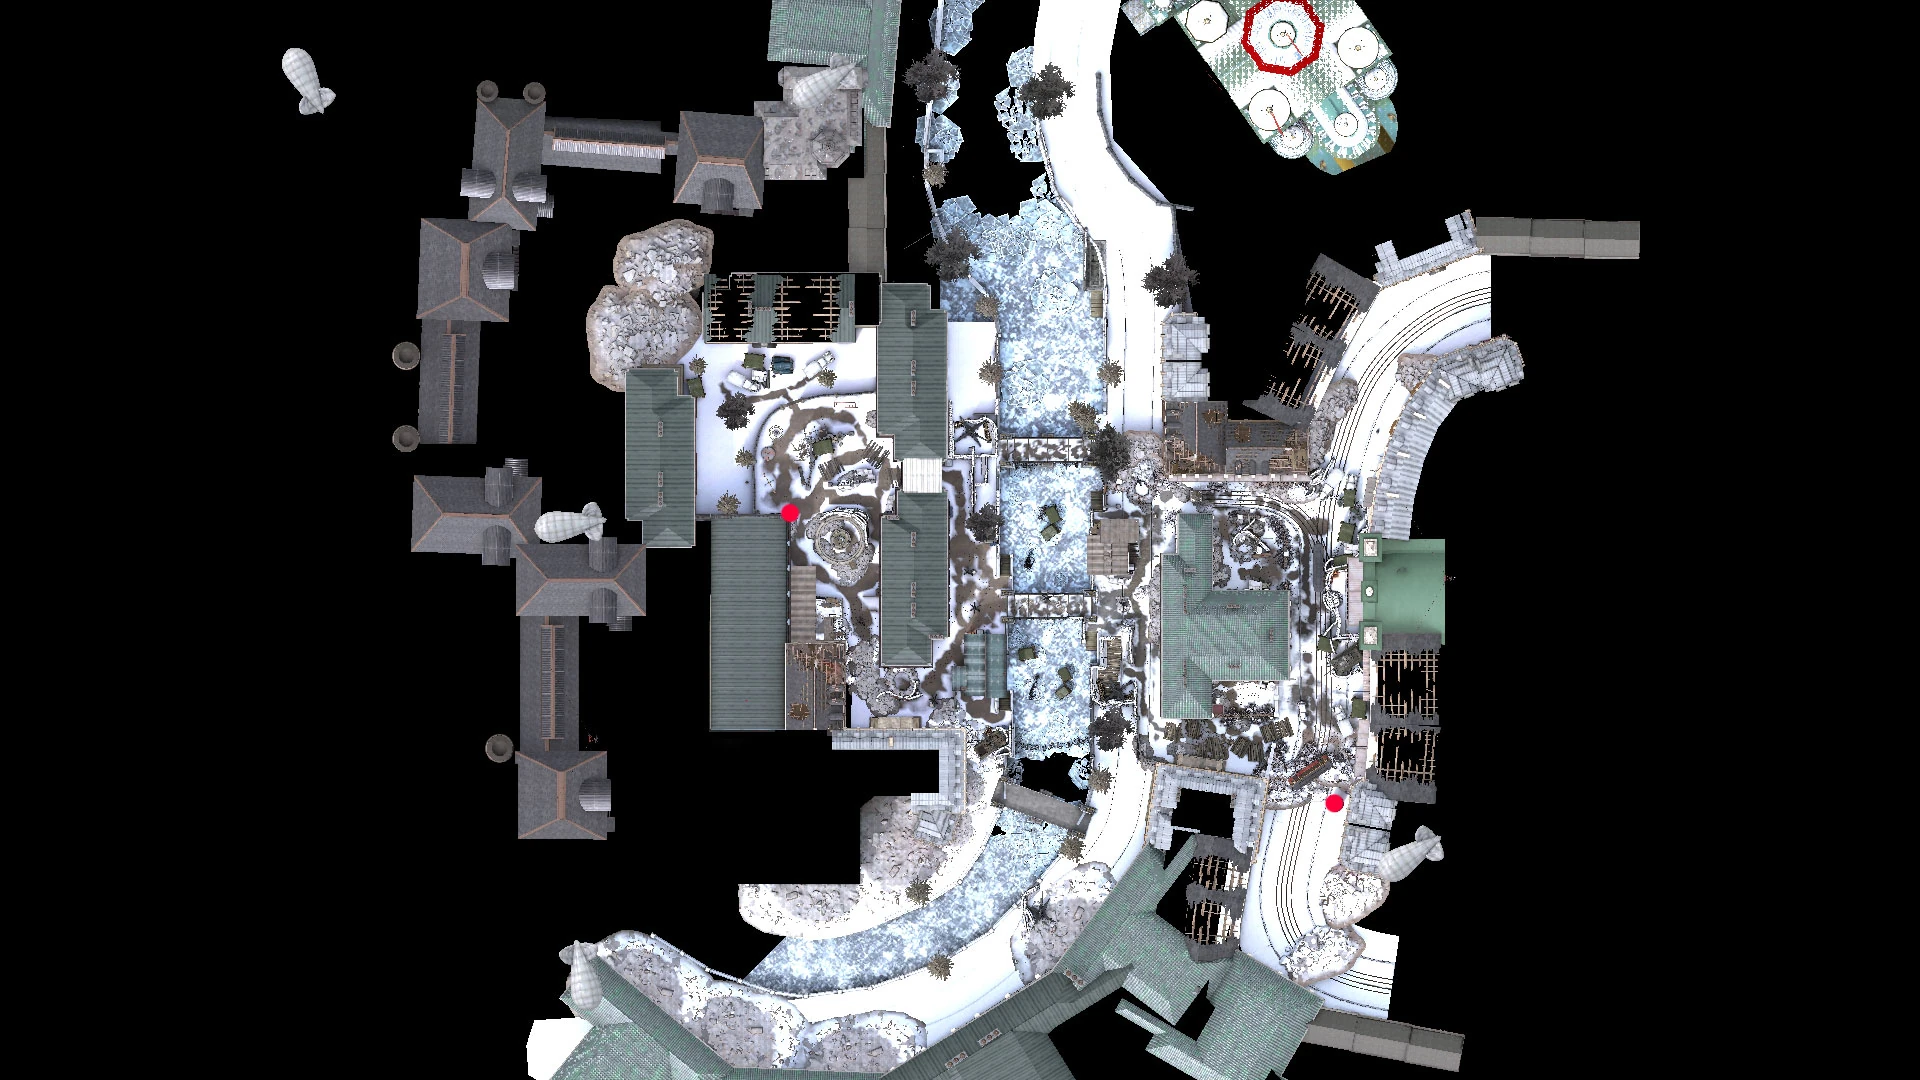
To get the World Location of each point, drop any static mesh (e.g. a cone static mesh) and note its location in the Details panel.

Try to use these coordinates in the text file and hit Play in Editor to test that your minimap is functional and scaled and positioned properly.